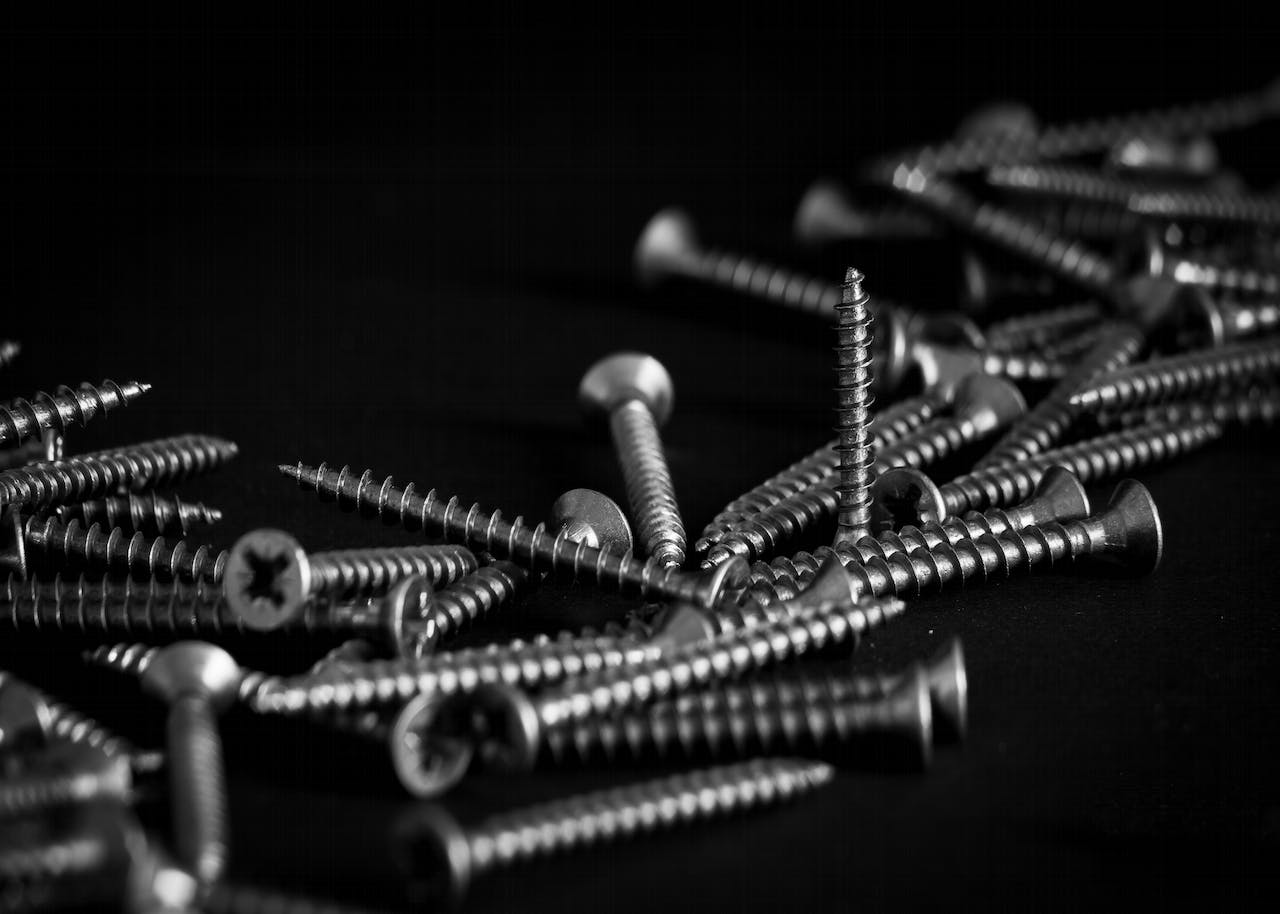


Self-tapping metal screws save time by cutting or forming their own mating thread as they are driven into sheet metal, turning a two-step drill-and-fastener job into one efficient action. They do not always drill their own hole—that distinction matters on the roof and in the shop.
Table of Contents
- Understanding the Key Concepts
- Self Tapping vs Self Drilling at a Glance
- Head Drive Thread And Point Anatomy
- Materials, Coatings, and Corrosion Performance
- Sizing, Pilot Holes, and Pull Out Strength
- Installation Best Practices for Metal Roofing
- Quality, Metallurgy, and Why Spec Matters
- Frequently Asked Questions About Self-Tapping Metal Screws
Understanding the Key Concepts
Self-tapping screws work like a tap in a machinist's toolbox: the screw's thread either displaces metal to form a matching groove or slices a thread flank as it advances. This is why contractors call them thread-forming or thread-cutting in practice. The marketing label "self-tapping" sometimes gets used loosely; engineers reserve that word for the thread-forming action, while "self-drilling" refers to screws with a flute-shaped point that bores a hole first.
For practical clarity on jobsites:
- Thread-forming screws are for thin sheet metal where you want material to flow around the thread for vibration resistance.
- Thread-cutting screws remove a small amount of metal and are handy in harder alloys or thicker sheets.
- Self-drilling screws include a drill-point and eliminate pilot holes entirely in many through-fastened assemblies.
"Think of a self-tapping screw like a zipper that creates its track as you close it; a self-drilling screw is like drilling a hole first, then zipping." This metaphor helps crews pick the right fastener quickly.
Common applications include:
- Metal roofing panels where leak control and washer seating are critical.
- HVAC ductwork where quick assembly and sealing matter.
- Cladding and soffit work where thin gauges are common.
- General sheet-metal fabrication and retrofit repairs.
Practical jobsite signals to watch for:
- If a screw smokes and requires high torque, you likely need a drill-point or a different thread profile.
- If washers crush or leak, revisit washer type and torque settings.
Read also: Learn more about thread types and when to choose a tapping bolt in our guide on self-tapping bolts at Contractor's Den https://contractors-den.com/blogs/learning-center/self-tapping-bolt
As a primer on what self-tapping screws actually do, the following resource on roof installation provides useful context for sealing and accessory selection roof maintenance in Long Island.
The rest of this guide walks through head, drive, thread, and point choices, sizing and pilot-hole rules, installation best practices for metal roofing, corrosion concerns, troubleshooting, and bulk purchasing tips so crews can order the correct SKU and avoid callbacks.
Self Tapping vs Self Drilling at a Glance
Choosing between these two fasteners can make or break a job. Here's how they stack up:
| Feature | Self Tapping Screw | Self Drilling Screw |
|---|---|---|
| Point Style | Blunt or sharp tip, no drill flutes | Flute-shaped drill point that bores its own hole |
| Typical Application | Thin sheet metal, pre-punched holes, retrofit work | Thicker steel, structural connections, new fabrication |
| Pilot Hole Requirement | Usually required (screw forms or cuts thread in the pilot hole) | Not required in most cases—point drills through material |
In short: self-tapping screws need a pilot hole and create threads inside it, while self-drilling screws combine drilling and fastening in one motion. Pick the wrong one and you'll either burn out your drill motor or strip out the hole.
Head Drive Thread And Point Anatomy
Picking the right head, drive, thread, and point for self-tapping metal screws is a lot like choosing the right bit and blade before making a cutout—get it wrong and the whole job slows down or the finish falls apart.

This infographic breaks down what self-tapping screws actually do and why each anatomical choice matters on roofing and HVAC installs.
Head style determines how the screw seats and spreads the load across the roof deck. Pancake heads sit nearly flush, which keeps an AC unit base from rocking on the panel. Truss heads offer a wider bearing surface for panel overlaps. A flat head works well when you're countersinking into trim, and a hex washer head pairs with neoprene washers to create a watertight through-fastening.
Drive type controls your installation speed and how often you strip a screw. A 1/4 inch hex drive lets crews move fast with power tools, but a Torx or square drive resists cam-out and saves you from chasing stripped heads across a long run. Think of drive selection like choosing a screwdriver that won't slip when you're two stories up on a ladder.
Thread pattern dictates how the screw interacts with thin metal. Fine threads bite gradually into harder alloys. Coarse threads pull through softer substrates and feed more quickly. Hi-lo threads alternate crest heights to balance cutting and material displacement—particularly useful on mixed-gauge assemblies.
Point style tells you whether a pilot hole is still in the cards. A sharp point or blunt tip can work with a small pilot hole. A drill tip (self-drilling point) bores first and often eliminates the pilot-hole step entirely. On 29 gauge roofing, a thread-forming point in a properly sized pilot gives superior vibration resistance. On thicker substructures, you'll want to reach for a self-drilling tip.
Practical Checklist for Ordering and Jobsite Use
- Inspect the application and sheet thickness before choosing head and thread
- Match the drive to your crew's toolset to reduce cam-out and rework
- Pick point style based on whether the panel or substrate needs a pre-drilled hole
Choose the right drive and thread the way you pick the right tool bit: it determines your speed, your control, and whether you finish the install or spend the afternoon fixing stripped heads.
For a closer look at when pancake heads outperform other options on roofs, check out our guide on pancake screws for metal roofing.
Materials, Coatings, and Corrosion Performance

Start with the metal itself because the core material sets how a screw behaves under load and during installation. Hardened steel gives high shear and pull-out strength but can corrode quickly without a good coating. Stainless 304 is common for general exterior use; it balances cost and corrosion resistance. Stainless 316 adds molybdenum for better performance in salty or chemical environments.
Think of coatings like sunscreen grades for a summer jobsite. A light zinc plate is a basic SPF that protects briefly in dry, interior conditions. Hot-dip galvanizing is like SPF 30—good for general outdoor exposure. Zinc-aluminum (Galvalume) is a higher-grade SPF with better UV and heat resistance for southern roofs. Ceramic or polymer coatings act like a professional-grade SPF for coastal or agricultural sites where salt spray or ammonia attacks metal.
Choose the right coating the same way you'd pick sunscreen for the beach versus the backyard
Match coatings to service environments:
- Interior dry zones use zinc or standard plating for cost efficiency.
- Coastal air calls for stainless 316 or heavy zinc-aluminum coatings to resist chloride attack.
- High-UV southern roofs benefit from zinc-aluminum or ceramic finishes that resist chalking.
- Agricultural buildings with ammonia exposure need stainless 316 or specialized polymer coatings.
Corrosion Failure Patterns
Fasteners fail before panels when dissimilar metals or thin coatings concentrate corrosion at the fastener head and under the washer. The screw creates a micro-environment where water pools and coatings abrade during installation. This means a roof panel can look fine while fasteners rust first, causing leaks and callbacks.
- Use matched metallurgy when possible to reduce galvanic corrosion.
- Specify coating weight and finish in the PO to avoid surprises.
- Consider higher-cost stainless or zinc-aluminum on vulnerable jobs to reduce long-term labor costs.
Practical Purchasing Tip
When ordering bulk, list base material, coating type, and coating weight per ASTM or ISO standards. Read also: Check out our guide on corrosion-resistant screws and Miami-Dade requirements Learn more about Miami-Dade County corrosion-resistant screws
Numbered quick checklist for specs:
- Pick base metal by environment and budget
- Specify coating and weight in PO
- Match washer material and consider sealing options
Sizing, Pilot Holes, and Pull Out Strength

Reading the box chart starts with length terminology because installers mix up "under head" and "overall" all the time. Overall length runs tip to top; length under head is the usable embedment once the head seats. This distinction matters more than most folks realize, because embedment depth directly controls pull-out strength.
Embedment is the single most practical strength metric on the job. Twice the embedment roughly doubles pull-out capacity in consistent sheet-metal substrates. That means choosing a screw with a longer under-head length for a sandwich panel or purlin improves ultimate holding more than a slightly larger diameter will.
For thin roofing like a 29 gauge panel, thread engagement in the substrate is critical. Here's a practical rule:
- Use a screw that gives at least 3/8 inch of embedment into wood or metal framing.
- If the panel is 29 gauge over 1/2 inch purlin, pick a fastener with the head-to-tip length that leaves 3/8–1/2 inch inside the purlin.
When Pilot Holes Still Matter
Self-tapping screws often need a pilot hole even though the name suggests otherwise. Thread-forming screws displace metal and perform best with a small pilot that guides thread formation and reduces torque and work-hardening. Thread-cutting screws need even smaller, controlled holes to limit cracking.
For mixed-gauge assemblies or where insulation sits behind the panel, pre-drilling a pilot hole prevents burred edges and reduces the chance of washer leaks. For thicker substrates or when penetrating structural steel, choose a self-drilling point instead.
Pilot holes control torque and prevent material failure when you want predictable performance on every roof panel
Common Self Tapping Screw Sizes and Uses
Use this table to pick a starting SKU on the job. Count screws by area: a typical through-fastened 29 gauge panel needs about 9–12 screws per square foot depending on wind zone and panel profile; consult load tables for final counts.
| Diameter | Typical Lengths | Common Use |
|---|---|---|
| #8 | 5/8", 1", 1-1/4" | Light trim, soffit, thin gauge flashings |
| #10 | 3/4", 1-1/2", 2" | 29–26 gauge roofing to wood purlins, HVAC |
| 1/4" | 1", 1-3/4", 2-1/2" | Through-fastening to purlins, thicker sheet overlaps |
| 5/16" | 2", 2-3/4", 3" | Structural metal-to-metal connections, heavy trim |
Step-by-Step Selection Checklist
- Measure panel plus substrate thickness and subtract head seating depth.
- Ensure at least 3/8 inch embedment into the structural member.
- Decide pilot hole size if using thread-forming or cutting screws.
- Match drive and head to your crew's tools to avoid cam-out.
Read also: Learn more about DekFast screw options and specifications in our DekFast guide at Contractor's Den
Installation Best Practices for Metal Roofing
Speed matters on a roof, but not at the expense of doing the job right. Set your drill somewhere in the 1,800–2,500 RPM range if you're running hex drive. That sweet spot lets the fastener cut clean without generating enough heat to strip the drive or chew up the EPDM washer.
Clutch and torque settings deserve attention too. You want the screw to seat the washer firmly—no more, no less. Too loose and it backs out. Too tight and you snap the head or crush the seal. Have your crew dial in their settings on a piece of scrap before they start on the actual panels. It takes five minutes and saves hours of callbacks.
A properly driven fastener should compress the washer without crushing the EPDM
Angle of approach is one of those things that separates a clean install from a leak waiting to happen. Drive perpendicular to the panel surface every time you can. Angled drives cause the washer to bounce and seat unevenly, and that's where water finds its way in. Around the eave and rake, where the geometry shifts, take an extra second to realign the driver between screws. It's a small habit that pays off big.
Driver Techniques and Tool Choices
- Match your bit to the drive—1/4" hex or Torx—to minimize cam-out and stripped heads.
- High-volume crews should consider a slower-speed impact driver with a torque limiter. Consistency across hundreds of fasteners is hard to maintain by feel alone.
- Keep spare bits on your belt. A worn bit is the number one reason heads get rounded off on a long run, and it always happens at the worst possible moment.
The snug-versus-over-torqued debate comes up on almost every job. Here's the rule: snug enough to compress the washer, then stop. Don't chase that extra quarter turn. Over-torquing crushes the EPDM, and once that seal is deformed, its service life drops fast.
Sealing Washers and Butyl Tape Tips
- Go with neoprene or EPDM washers that are rated for UV exposure and wide temperature swings. Cheap washers crack within a season or two.
- Run butyl tape at panel laps and under flashings for extra protection in areas that see heavy rain.
- For pipe flashings, Dektite-style products work well, but follow the manufacturer's compression guidance carefully. Over-compressing splits the boot, and then you're pulling it back out.
Here's a real example: one crew had a new guy torqueing every screw to full stop. By day three, the foreman spotted three weeps and switched the whole crew to clutch-limited drivers. Problem solved.
- Snow retention hardware like Snow Defender guards needs to be installed with the manufacturer's specified fasteners and torque values. The load paths depend on it.
- When placing bulk orders, spell out the washer material, head type, and drive style. Consistency in your fastener supply means crews aren't swapping bits mid-job or guessing at substitutions.
For guidance on maintaining your metal roof and the fasteners used, see our guide on advice from All Custom Roofing.
Read also: Learn more about through-fastened panel techniques in our article on 5 Quick Tips For Through Fastened Panel Installation
Quality, Metallurgy, and Why Spec Matters

Forget the SKU for a moment and think about what a screw actually is: a tiny layered rod with a hard outer skin that cuts or forms threads, and a tough inner core that bends instead of snapping. That skin-core balance comes from heat treatment and case hardening.
Surface hardening lets the thread edge slice cleanly through 22 gauge steel. But push it too far and the core gets brittle—then the same screw snaps under bending or shock loads. That's why two screws with identical spec sheets can behave completely differently once they're on a roof.
Key takeaway: Hardness without toughness is a brittle promise. Toughness without surface hardness is a blunt tool.
Case-hardened, through-hardened, and hardened screws each come with tradeoffs. Case-hardened screws keep a ductile core, which handles crash and vibration better on through-fastened roofs. Through-hardened screws deliver higher shear strength for structural applications, but they're more likely to fail brittle in thin, flexible panels.
For procurement teams, this means comparing measurable specs—not just price:
- Hardness values (HRC or HV) tell you about cutting capability.
- Coating weight (g/m² or mils) indicates how long the fastener will resist corrosion.
- Thread geometry (hi-lo, fine, or coarse) affects pull-out resistance and driving torque.
The right purchasing language prevents callbacks. Ask suppliers for coating weight per ASTM standards, core hardness ratings, and whether the screw is case-hardened or through-hardened. For high-value jobs, require batch test certificates. This weeds out cheap substitutes that save a few cents upfront but cost you labor down the road.
Material and Coating Decisions
- Match the base metal to the environment: stainless 316 for coastal jobs, hardened steel with heavy zinc for general outdoor exposure.
- Specify coating weight and type: light zinc for interior work, Galvalume or ceramic coatings for high-UV roofs.
- Include washer material and EPDM rating on the purchase order to avoid early seal failures.
Small details make a big difference on a roof. Thread geometry that reduces driving torque means less chance of stripping the drive. A tougher core resists snapping when a crew member overdrives at the eave.
Buying the right self-tapping screw is a system decision, not a single SKU choice.
When you align metallurgy, coating, thread form, and washer spec to the actual job, fasteners stop being the weakest link. Spend a little more time on procurement planning and you'll save a lot more on callbacks and rework.
Frequently Asked Questions About Self-Tapping Metal Screws
What is the difference between self-tapping and self-drilling screws?
Self-tapping screws form or cut threads as they enter a pre-existing hole, turning a pilot hole into a finished thread. It's like a machinist running a tap through a drilled hole—a two-step idea compressed into one fastener, so long as the pilot hole is already there.
Self-drilling screws carry a flute-shaped drill point that bores the hole first, then cuts threads on the way in. Think of it as drilling the pilot and tapping in one continuous pass. On the roof, that means reach for self-drilling on thicker steel or structural attachments, and stick with self-tapping on thinner sheet or retrofits where a pilot hole does the guiding.
Do self-tapping screws need a pilot hole?
Almost always, yes—if you want predictable performance. Thread-forming self-tapping screws work best with a small pilot that guides metal flow and keeps driving torque reasonable. Thread-cutting types need even tighter control over pilot size to avoid cracking or work-hardening the sheet.
A solid rule of thumb for roofing: give yourself at least 3/8 inch of embedment into the structural member. That keeps torque in check, saves your bit, and helps the EPDM washer seat right. If you're going through thicker substructure or structural steel, switch to a self-drilling point instead.
Which coating holds up best near the coast?
Coastal jobs throw chloride at fasteners all day, so metallurgy and coating matter a lot more than price per thousand. When the budget allows, specify stainless 316—the molybdenum in it fights pitting from salt spray better than anything else at this price point. If stainless is too steep, go with a heavy zinc-aluminum (Galvalume) or a ceramic/polymer-coated fastener with a stated coating weight.
Quick comparison:
- Stainless 316: Best corrosion resistance for coastal work. Costs more upfront, lasts longer.
- Galvalume / zinc-aluminum: Solid UV and chloride resistance at a lower cost than 316.
- Heavy hot-dip galvanizing: Better than light zinc plating, but still falls short of 316 in salt air.
Pick the coating like you pick sunscreen for the beach—stronger protection where salt and sun do the most damage.
How to estimate screws per roofing square
Fastener counts depend on panel profile, wind zone, and whether you're through-fastening or going concealed. A practical field number for common through-fastened metal panels runs 9–12 screws per square foot, though you should always adjust based on manufacturer load tables and the panel profile you're running.
Simple estimating method:
- Measure the roof area in square feet.
- Divide by 100 to get roofing squares.
- Multiply squares by your screws-per-square figure (use 1,000 screws per 10 squares as a quick baseline for 10 screws per square).
For example: a 2,000 ft² roof is 20 squares. At 10 screws per square, you'd order about 200 screws, then add 10–15% for waste, bit failures, and trim details.
Practical purchasing and specification tips
Bulk orders go sideways when the spec is vague. Spell out base material, coating type and weight, head style, drive, washer material, and whether length is measured under-head or overall. Require coating weight per ASTM where it applies, and note if you need case-hardened versus through-hardened cores—mixing those up causes callbacks.
Numbered checklist for procurement:
- List the environment and corrosion demands (coast, agricultural, UV exposure).
- Specify thread form and point type (thread-forming with pilot size, or self-drilling).
- Include head, drive, and washer spec to match your toolset.
- Add a 10–15% overage for waste and backups.
- Ask suppliers for sample batches and batch test info on critical jobs.
Ordering the right screw is a system choice: nail the metallurgy, coating, and thread form to the job up front, and you skip the callbacks and rework.
For fast, reliable sourcing of metal roofing fasteners and expert purchase assistance, visit Contractor's Den.